Whether you're an OFW (Overseas Filipino Worker), a Filipino returning home for a vacation, or a foreign tourist visiting the Philippines, one of the first things you'll need to do before arrival is to complete your eTravel registration form. While it's relatively simple to follow, I wanted to share this step-by-step eTravel guide along with some extra tips to make your arrival process in the Philippines smoother and faster.
Who Needs to Register for eTravel?
All travellers entering or exiting the Philippines — both Filipino citizens and foreign visitors — must register online through the official eTravel portal (https://etravel.gov.ph) or through the eGovPH app.
Registration is completely free, so avoid fake websites or third-party agencies that charge fees. Also, remember that you should complete your registration within 72 hours to 1 hour before your flight.
eTravel Requirements as of 2025
While there are no specific “requirements” to register, make sure you have the following on hand during the registration process:
- Passport copy (to upload)
- Flight details (arrival date & flight number)
- Active email address (for your QR code)
- Accommodation details (address of your accommodation)
- For OFWs: I selected 'Residence' under 'Destination Upon Arrival'
- For Foreign Tourists: Select your accommodation name from the dropdown list and upload you hotel booking confirmation or hotel voucher
Find your hotel accommodation below before you register for your eTravel, to avoid last minute stress!
Step-by-Step Guide to eTravel Registration in the Philippines
Creating an Account for eTravel
As a first-time user of eTravel, I had to create an account first by following the steps below:
- Visit etravel.gov.ph
- Click “Click Here to Sign In” and "Create an Account"
- Enter the OTP sent to your email and "Create Your Password"
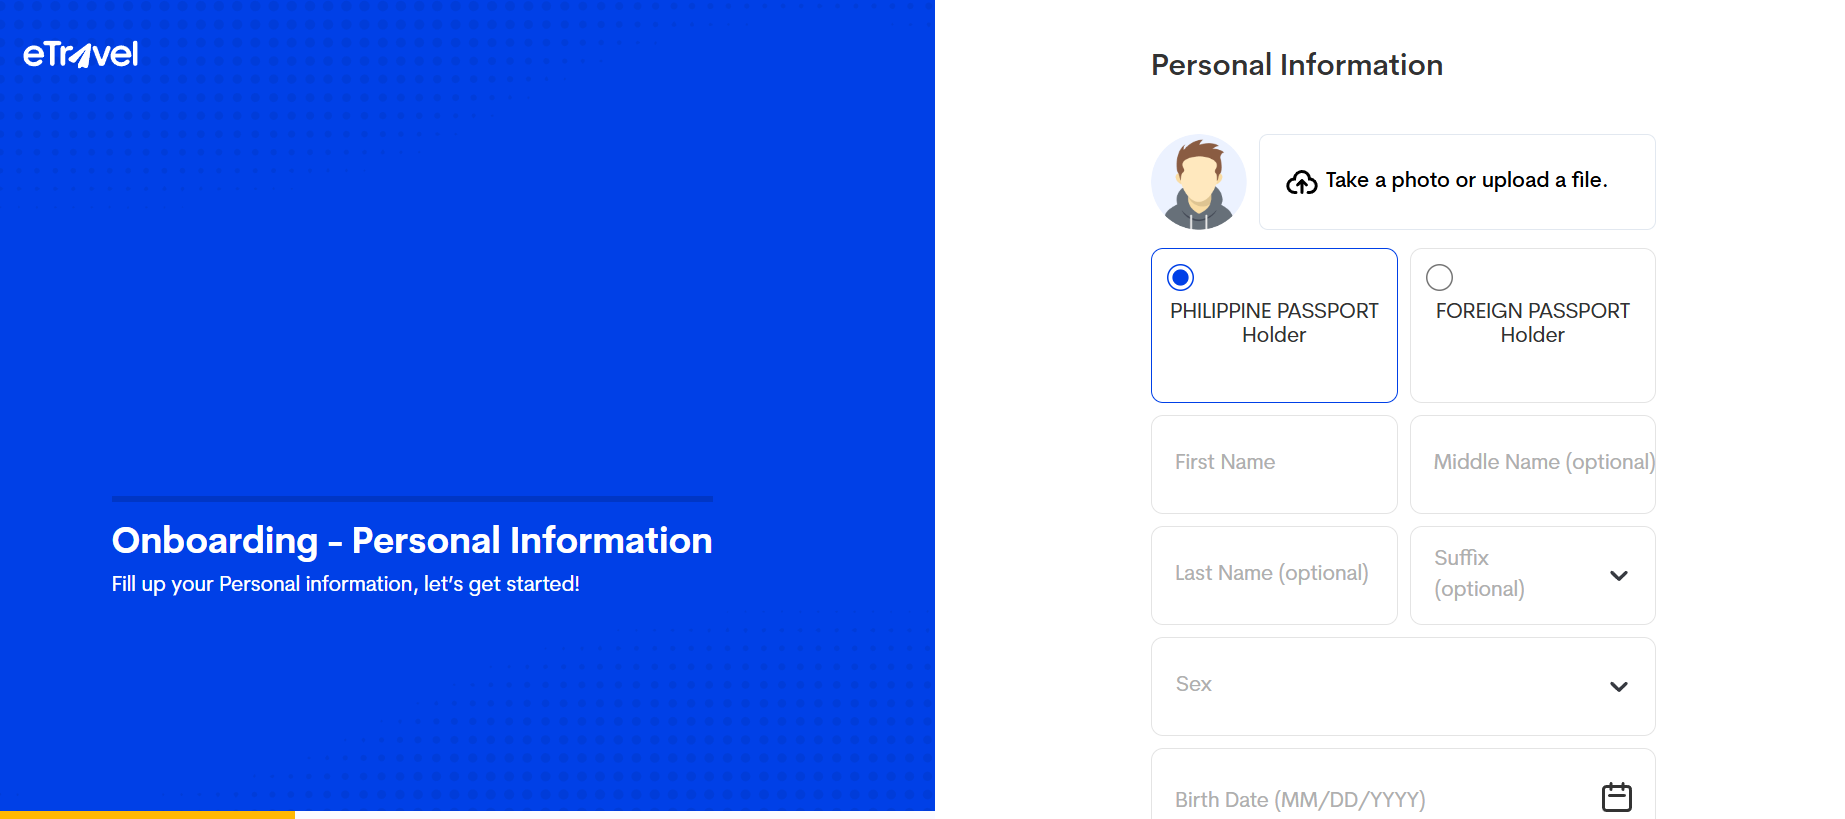
- Fill out the Onboarding page with your personal information and country of residence.
New Travel Declaration - Arrival
Once your account is set up, you can proceed to apply for a New Travel Declaration to complete your eTravel registration. Here’s the step-by-step guide for arrival:
- Click "New Travel Declaration"
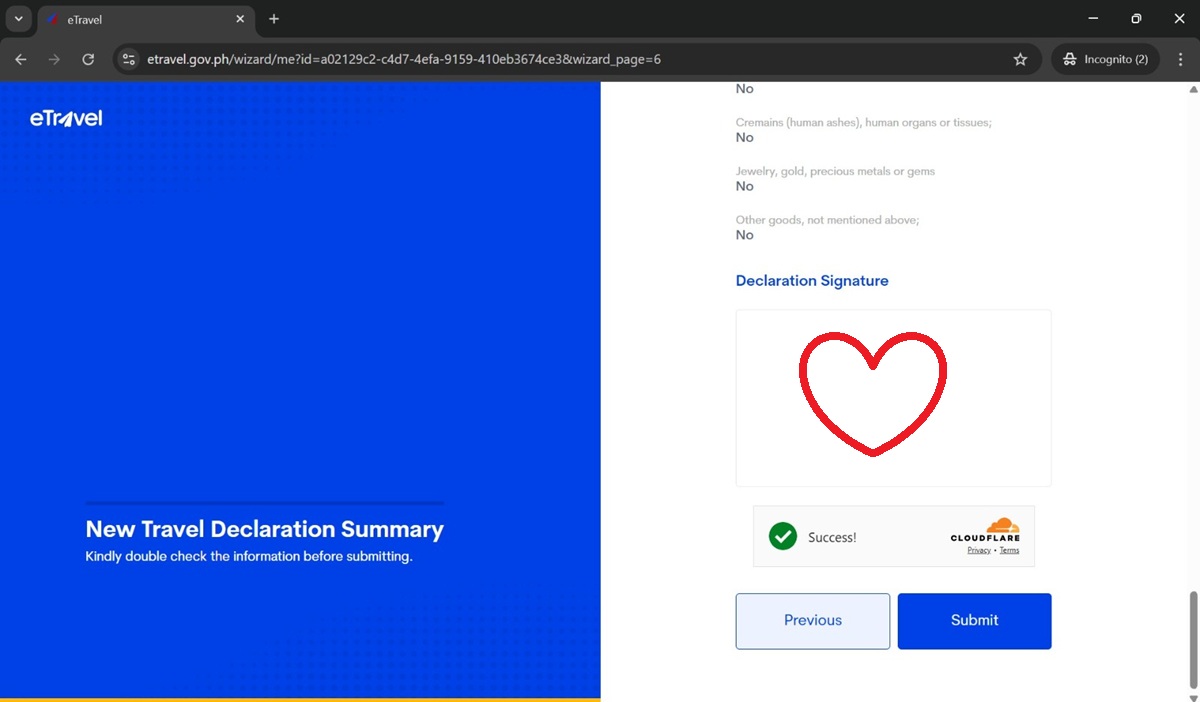
- Fill out your Personal Information, Travel Details, Health Declaration, For Customs - General Declaration, and Declaration Signature
- Review all the information and click "Submit".
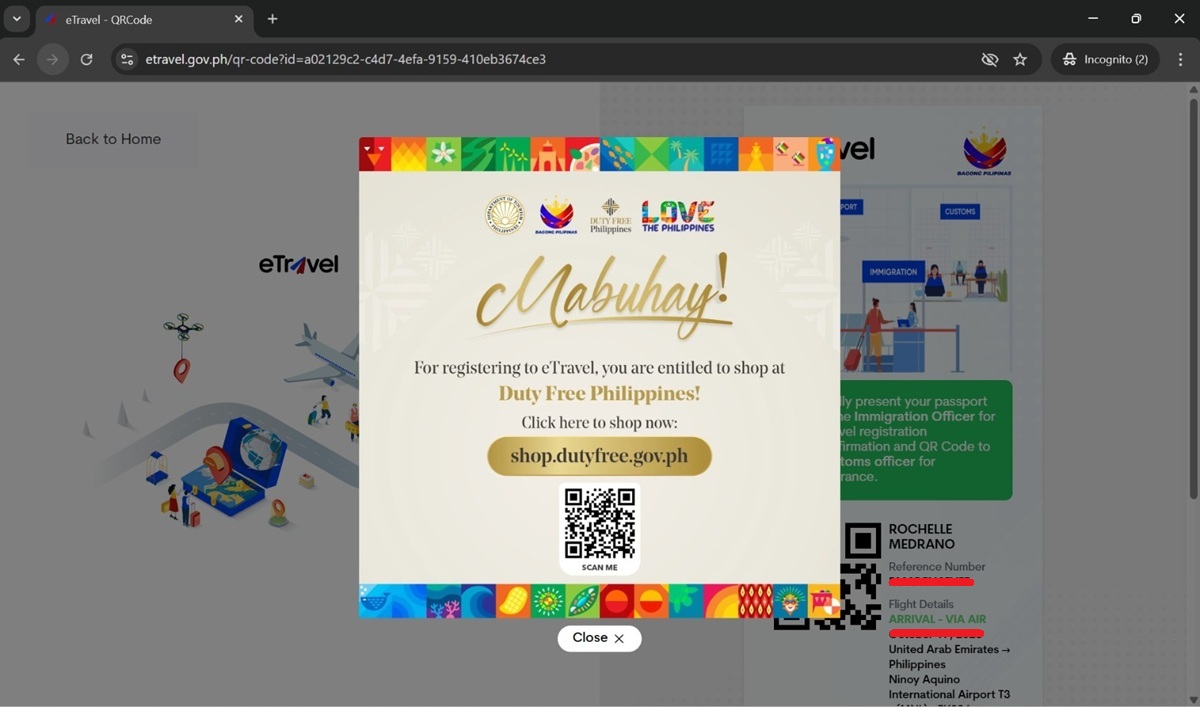
- After submission, you’ll receive your QR Code on-screen.
📧 Your QR code will also be emailed to you — save it or screenshot it before your flight.
New Travel Declaration - Departure
For departures, only Filipinos are required to submit a new travel declaration. Foreigners leaving the Philippines do not need an eTravel form.
The departure process is faster too since the Health Declaration and For Customs - General Declaration sections are not required and have been removed for departing passengers.
Beware of Fake eTravel Websites ⚠️
Quick Tip
✅ Official website: eTravel.gov.ph
✅ Registration is free
❌ No credit card or payment is required
❌ Avoid third-party websites charging registration fees
Many travelers have reported being charged by fake eTravel websites even though the official registration process is free.
My Overall Experience Using eTravel
The eTravel registration itself is a straightforward and seamless process. I did not encounter any errors, although it took me a bit more than 10 minutes from creating my account to receiving my QR Code.
When I arrived in Manila, I wasn't asked for my eTravel QR code, and I just assumed the Philippines now has a more streamlined system that could automatically detect my registration.
On departure, I completely forgot about eTravel and had to ask the check-in counter if it was required. They confirmed it was, so I quickly registered before going through Immigration/Passport Control. Interestingly, no one asked for my eTravel QR Code.
Based on my experience, I’m still not sure if eTravel is truly necessary for some travelers, or if the system can detect prior registrations. But regardless, rules are rules, so it’s best to get your eTravel sorted to avoid any last-minute hassle.
I hope this guide helps, even in a small way. Safe travels in the Philippines!
Things to Do After Arriving in the Philippines:
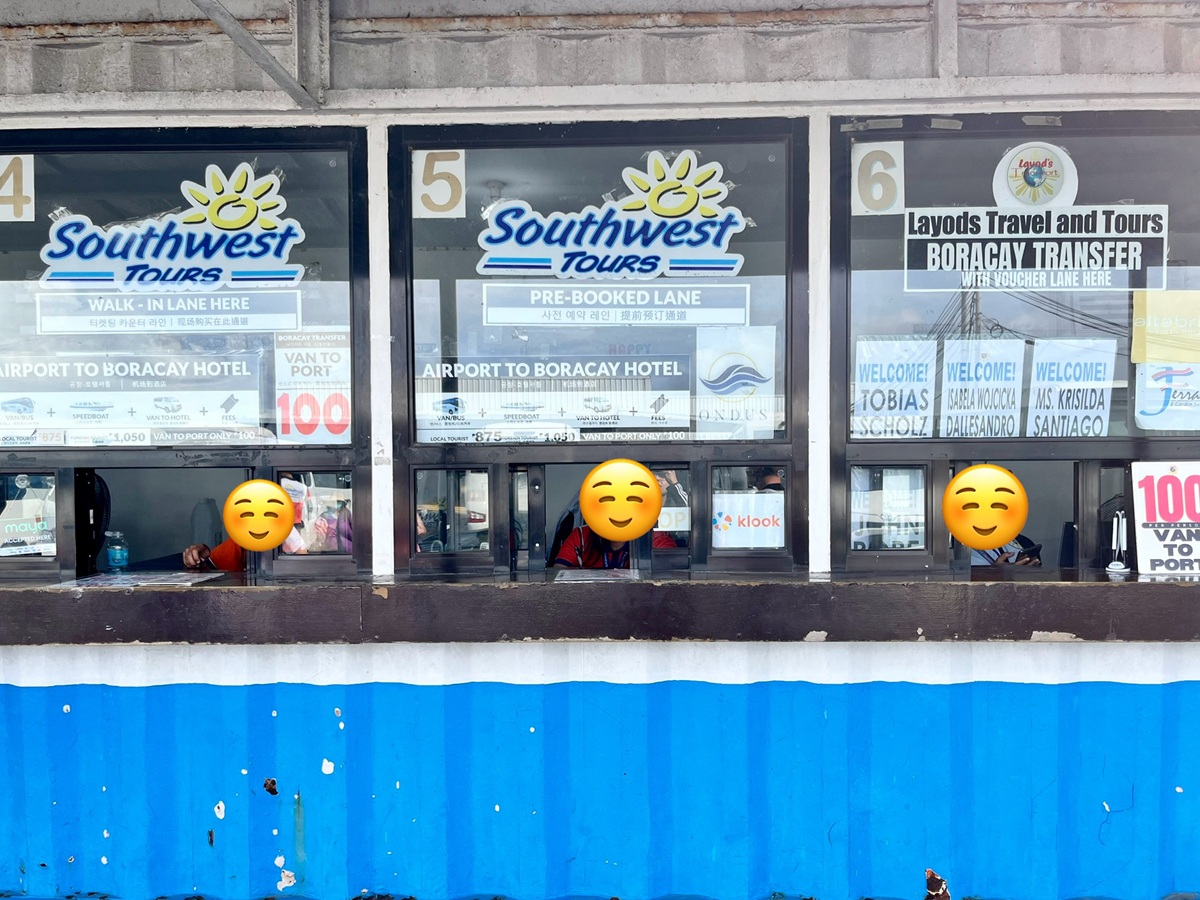
Whether you're visiting Manila, Cebu, Palawan, or Boracay, here are some of the most popular tours and experiences travelers book before arrival:
Planning a Trip to the Philippines?
Once you've completed your eTravel registration, you might also enjoy my other travel guides:
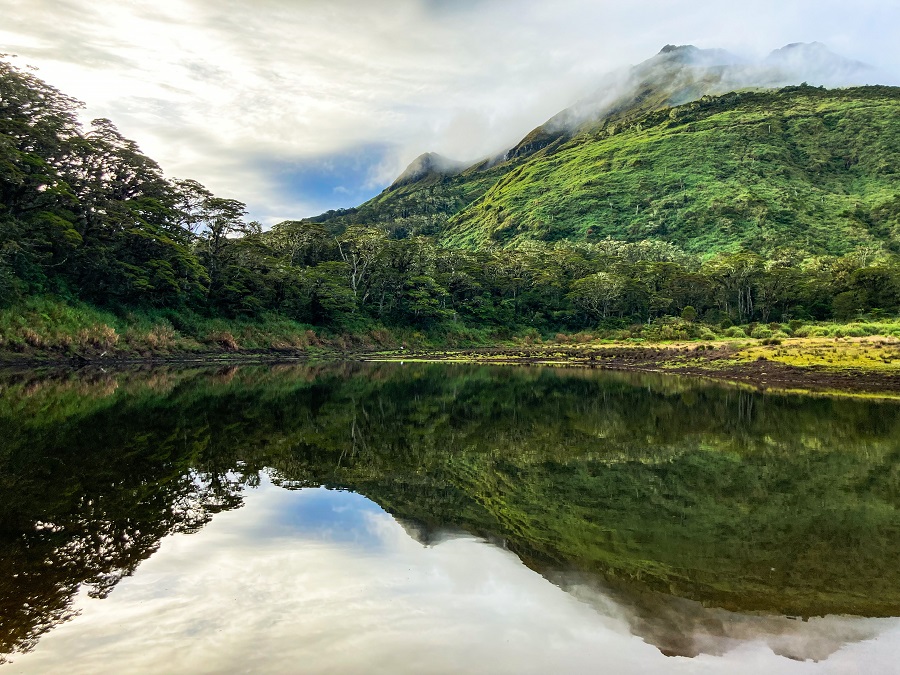
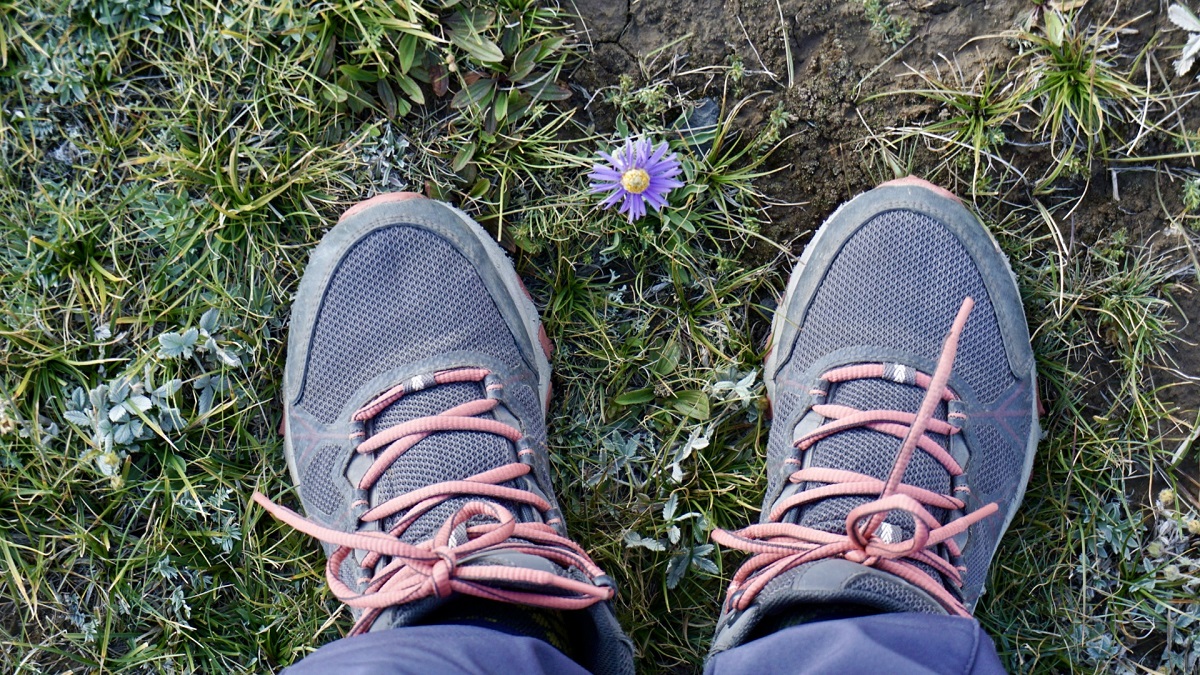
- Trek to Mount Apo via Sta. Cruz Trail, the country's highest mountain
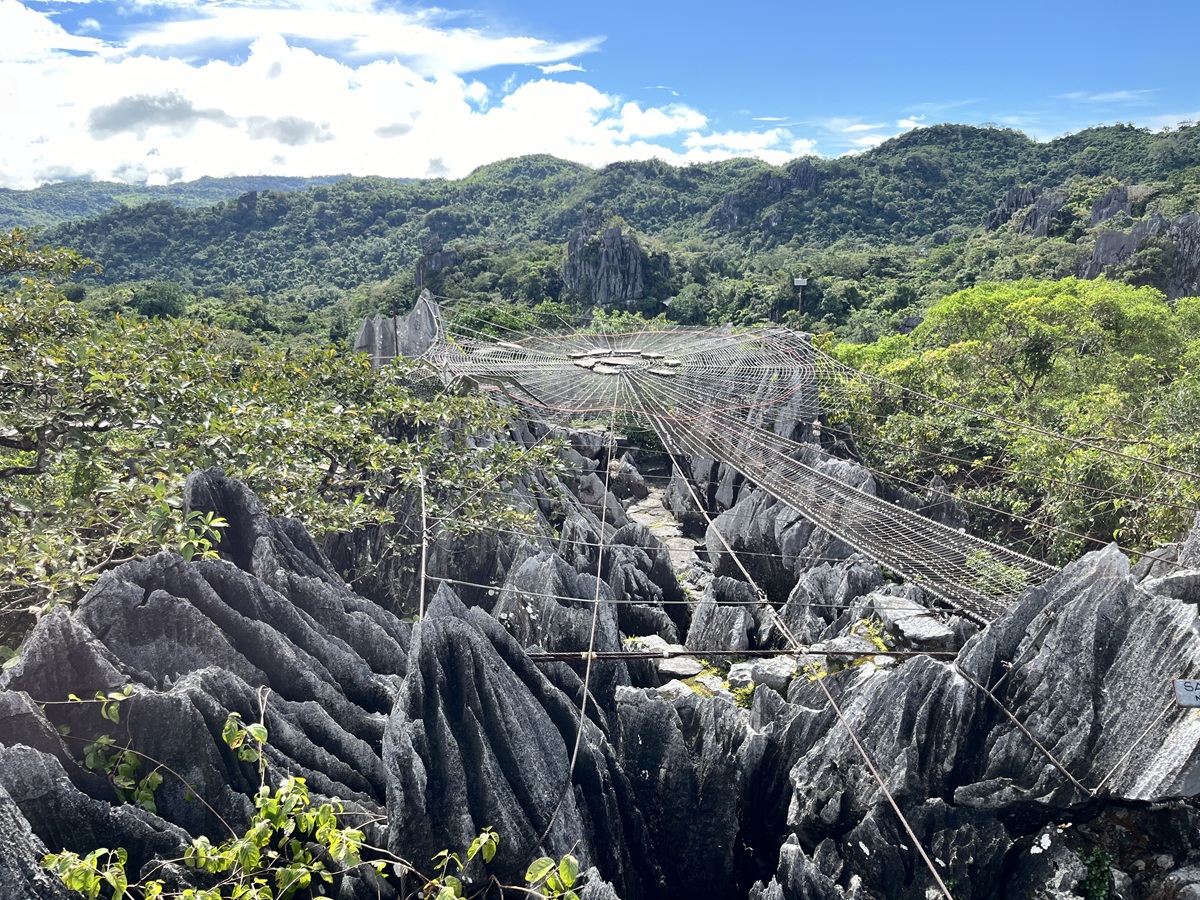
- Hike through Masungi Georeserve via the Discovery Trail
- Staycation at TJM Hot Spring Villas (Private Villa in Los Banos, Laguna)
- Relax at New Lasema Spa